Free shipping across Canada 2 bags or 1kg 🤩
Electric Roasted Coffee ⚡️
Free shipping across Canada 2 bags or 1kg 🤩
Electric Roasted Coffee ⚡️
Free shipping across Canada 2 bags or 1kg 🤩
Electric Roasted Coffee ⚡️
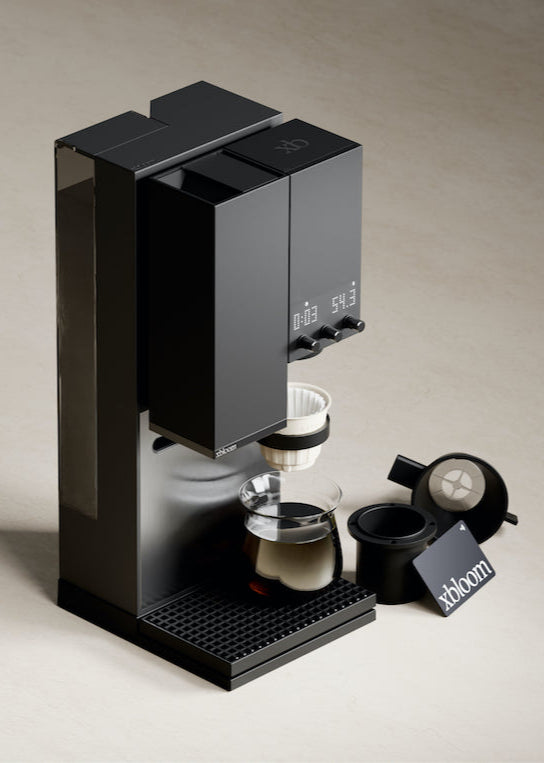
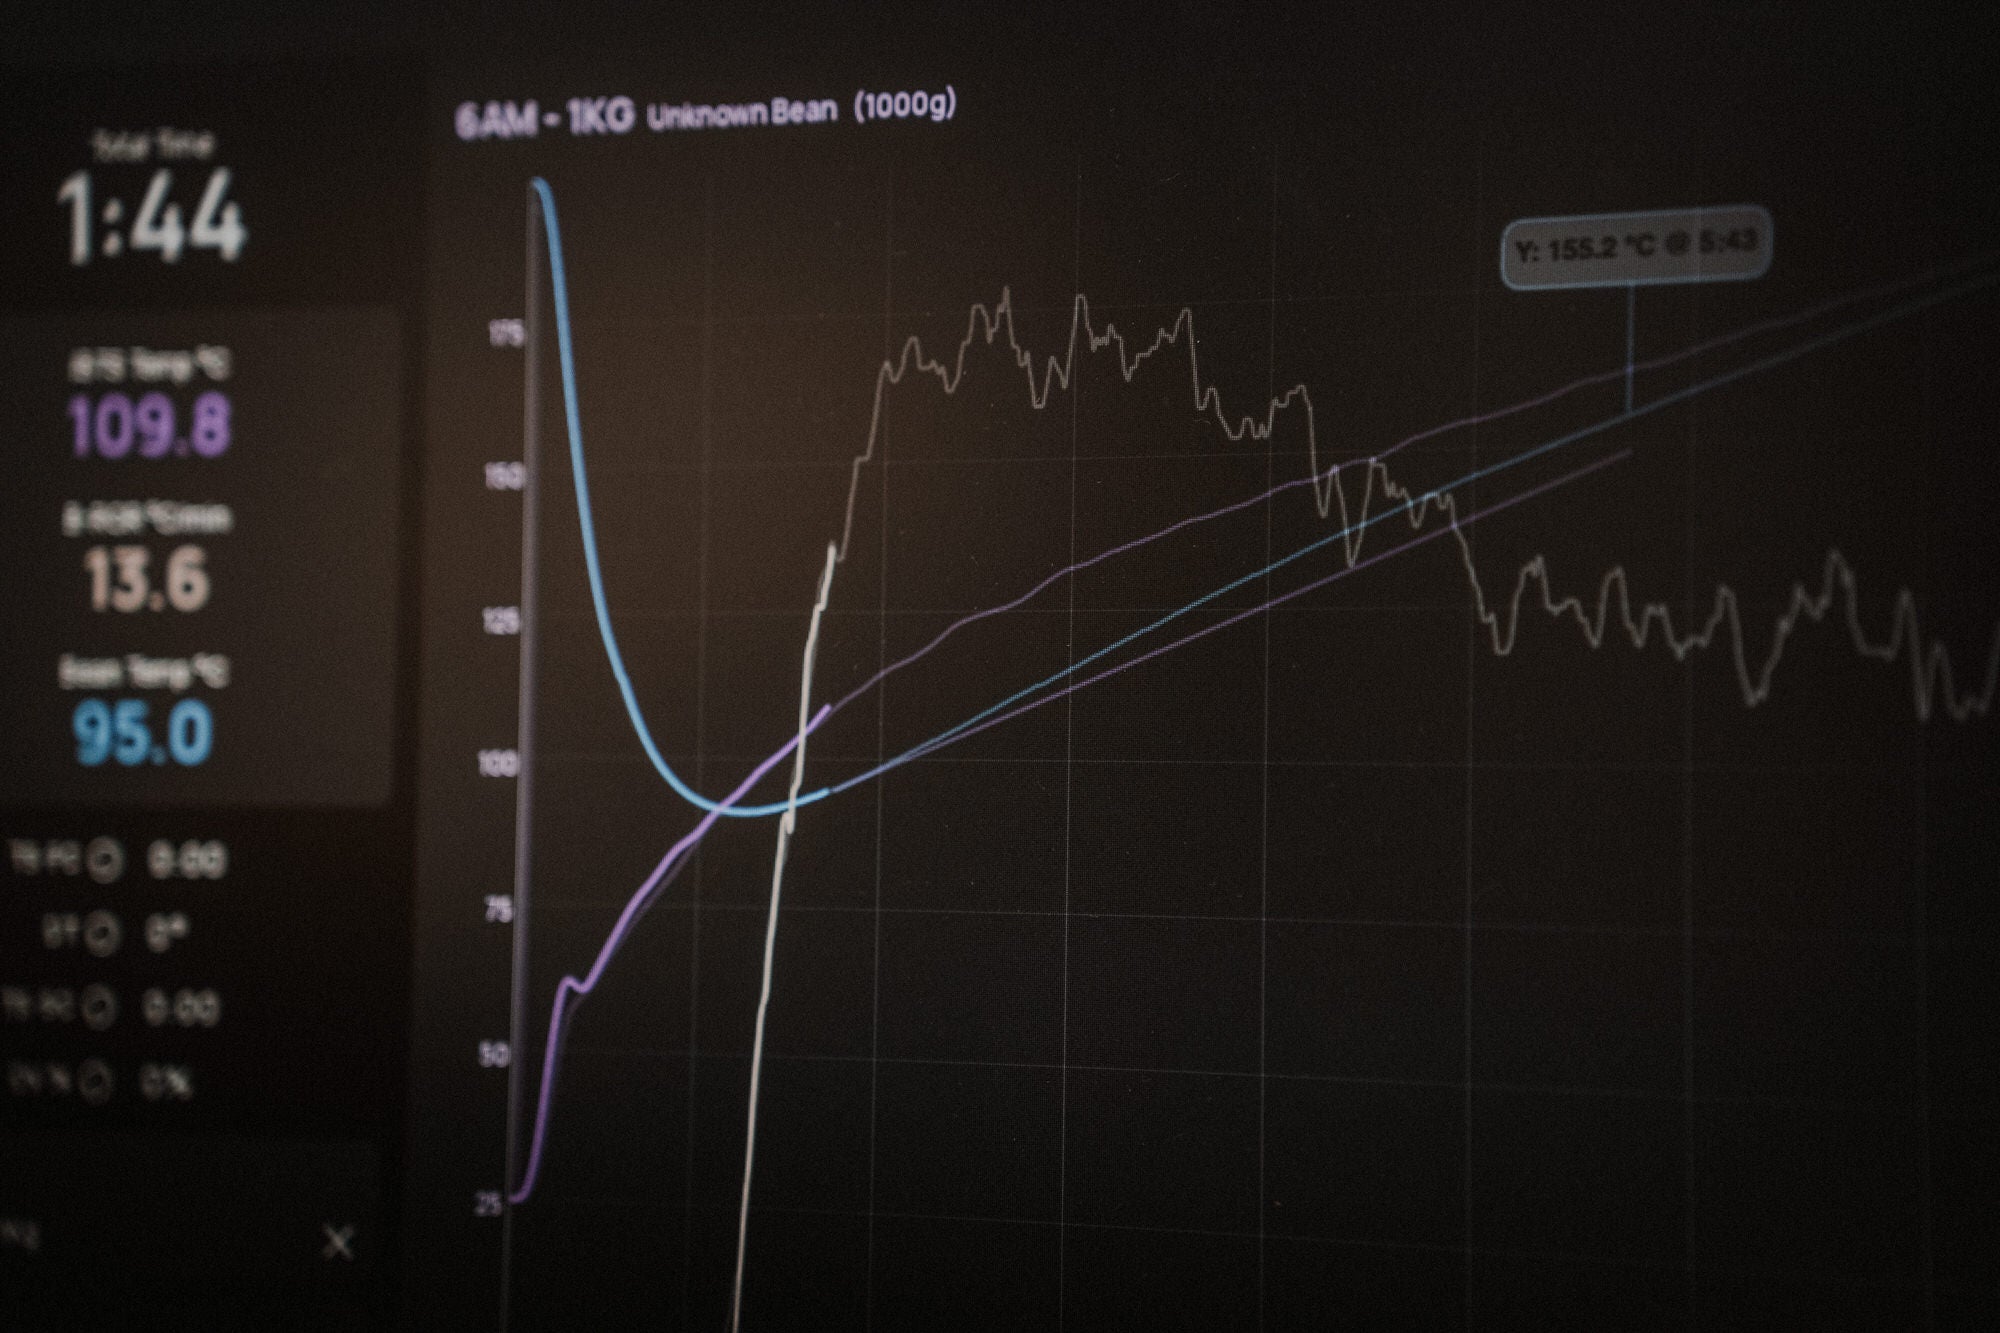
Before diving into the data we’ve gathered and the techniques to control your extraction, I’d like to give a quick overview of how the Studio works.
The xBloom is activated in three ways: by an xBloom NFC card containing a recipe, by a phone connected via Bluetooth, or by a button directly on the machine. Let’s set aside the NFC card for now—I’ll come back to it later.
Available since early 2025, the on-device recipe feature on the xBloom has somewhat revolutionized the use of the machine independently and quickly. Back then (only a few months ago), a user had to create a recipe on their phone and activate it from their phone every time they wanted to brew a coffee.
We now have the option to create a recipe and save it in the Studio to use without our phone. You can store up to three favorite recipes in the Studio (in addition to having an unlimited number of recipes on your phone).
Once a recipe is saved, you can activate it from the xBloom and adjust the grind size as well as the extraction ratio before starting the brew. A recipe can thus serve as a base for a certain coffee type, and you tweak grind and ratio according to roast level, density, desired result, etc.
When creating a recipe, we control several variables. With the goal of comparing them and relating them to a sensory outcome, it’s important to define and fully understand each one.
The dose most often used is 15 g, but the app allows anywhere from 5 g to 18 g. Of course, you can put in more coffee (I’ve gone up to 25 g), but you need a recipe that accommodates it given the size of the Omni Dripper. Also, extraction ratios won’t be representative since you’ll have to set your dose to 18 g in the app and manually calculate the equivalent ratio to get the correct water amount. E.g.: enter 18 g at a 1:20 ratio to achieve an actual 1:15 ratio by putting 24 g of coffee in the grinder.
The ratio the machine uses to determine the total water volume for the recipe. You can change the ratio just before brewing, but any difference in water will be added or subtracted only from the final pour (unless a future update changes this).
Grind size ranges from 1 to 80. I often use the xBloom to grind for espresso with settings between 4 and 14 depending on the coffee and recipe. For most filter recipes, we stay between 30 and 60. An upcoming article will go into more detail on particle distribution, but for now we can assume particle distribution and extraction time are fairly linear. For a fixed recipe, increasing grind size reduces extraction time (T) and the resulting extraction yield (EY). Again, to be explored in another article since the distribution of fine particles influences this trend.
RPM is revolutions per minute, essentially the grinder’s speed. RPM ranges from 60 to 120 in 10-RPM increments. A dedicated article on xBloom Studio RPM and particle distribution is coming, but preliminary observations suggest a low RPM yields more texture and complexity, while a high RPM yields more clarity and a sweeter profile.
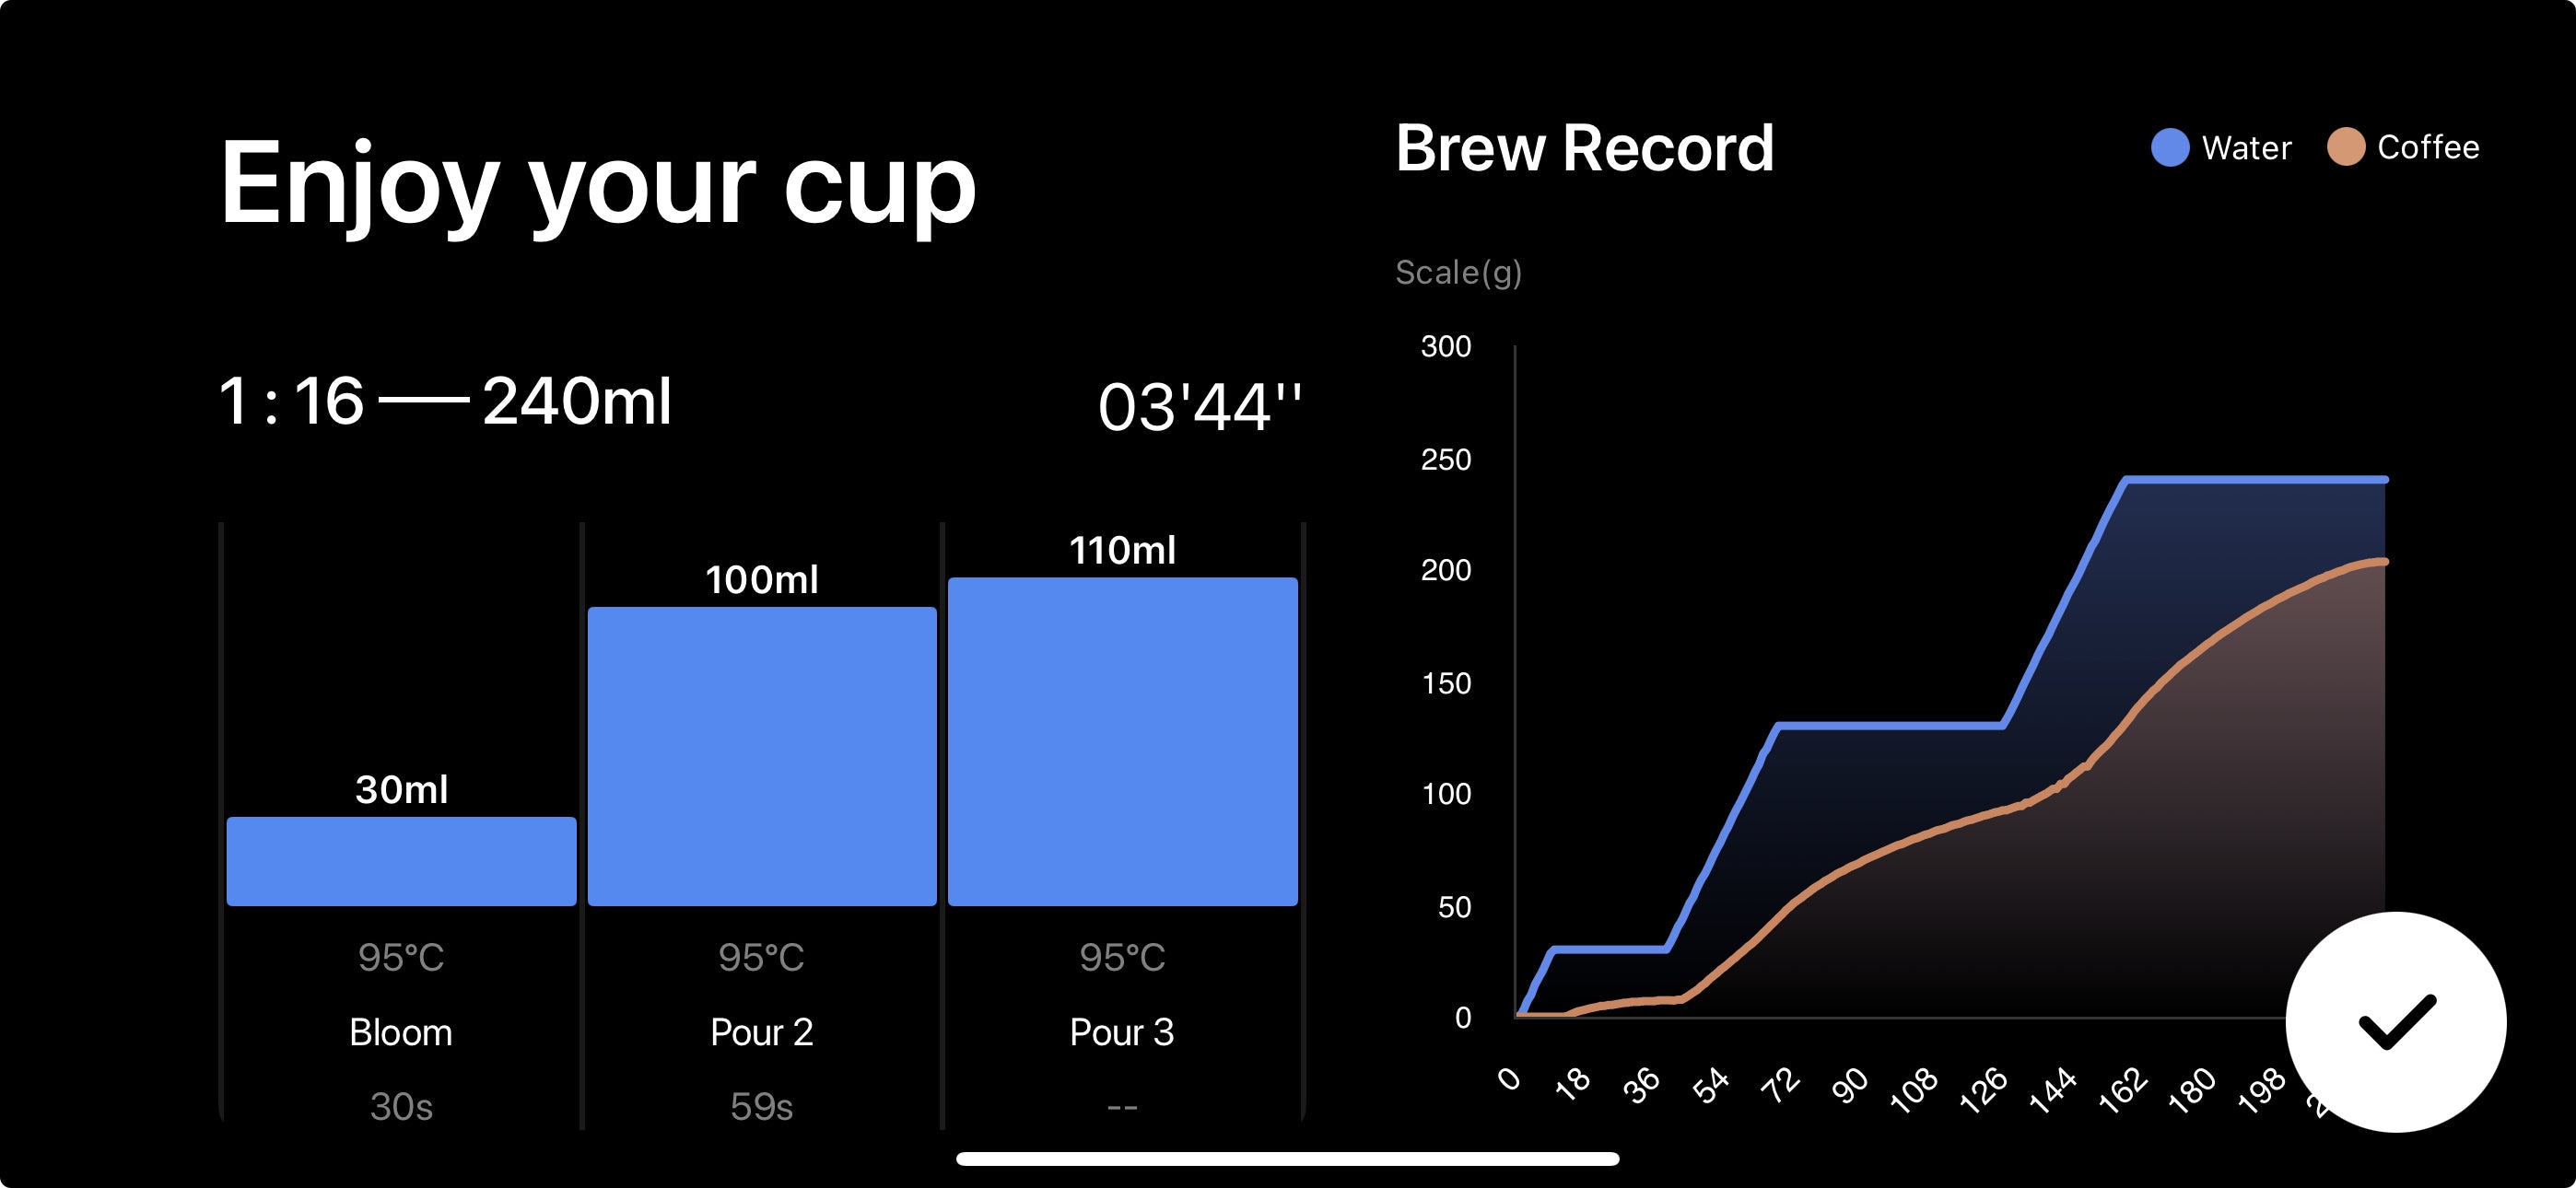
Each recipe includes a different number of pours, and each pour has its own parameters. The first pour is always called “Bloom” in the app. Here are the parameters for each pour:
Amount of water poured.
The first setting is RT (room temperature), then 40 °C to 95 °C in 1 °C increments, then BP (boiling point). Based on my experiments and those of other users, BP is closer to 95 °C–98 °C. Temperature is quite stable and precise, but fluctuations between pours can create instabilities. More details in a future article.
Water flow is set between 3.0 ml/s and 3.5 ml/s in 0.1 ml/s increments. Honestly, it’s a very fine adjustment and data show no precise correlation between flow rate and any other variable or outcome other than adding a few seconds to extraction time. A variable flow rate from 2 ml/s to 8 ml/s would likely create a difference and an opportunity to control agitation, but the 0.5 ml/s range doesn’t influence much. I normally leave it at 3.5 ml/s.
You can choose a centered pour that stays in place, a spiral from center outwards, or a circular pour that only goes to the edges. I tend to use the latter two. Since the Omni Dripper has a flat bottom (unlike a V60), I prefer not to concentrate the stream in the center to avoid creating a channel. An article on this is coming.
We can add agitation BEFORE and/or AFTER the pour. Agitation is simply the Omni Dripper moving side to side at a predetermined intensity in the settings. Agitation will be a major topic of theory and testing. Briefly, xBloom’s side-to-side agitation helps flatten the bed and greatly contributes to fine particle migration. I don’t see agitation as a hack for better extraction but as a tool to control extraction and the movement of fines.
That covers the variables to control when creating a recipe on the xBloom Studio. You now understand that upcoming articles will focus on one variable at a time to identify its effect on extraction and better understand how to control the xBloom to achieve the desired result.
Each variable has a measurable effect on extraction or on a specific sensory perception of the final cup. The goal is to understand these variables so we can use them to our advantage depending on the coffee we’re aiming to showcase.
Through a series of tests, we will discover the observable effect of each variable based on our cuppings and the extraction yield (EY) of each coffee.
In the next article, I will present our testing protocol and evaluation method.
xBloom Studio
Co-pilot of our daily routine since the very beginning, the xBloom Studio is the only machine capable of replicating and innovating on manual infusion.
All our coffees are tested on the xBloom Studio and have their own personalized recipes, allowing you to achieve a perfect extraction in just one click.
Comments
There are no comments.
Your comment